Move
Modifications Help Make Every Workout Your Own—Get Started With These Four Key Postures
Have you ever found yourself in the middle of an old-school workout, gritting your teeth through pain as you force your body to follow the instructor’s every move? We’ve been there, too, and we hated every second of it. That’s why the keystone of the barre3 workout is modifications—options for switching up a move so that it suits your body and your needs. It’s a radical approach in the “no pain, no gain” fitness world—and it works.
The concept is simple: For every move we introduce in our workout, we offer modifications. Each modification is designed not to make the move less challenging or less effective, but to provide a way for you to get the maximum benefit of the move in a way that honors your body. Your job: to listen to what your body needs in each moment, and to adjust your workout accordingly.
Below, Andrew Ash, barre3 Producer, Instructor Trainer, and Online Lead, walks us through modifications for four key barre3 postures. Experiment with them in your next workout, and feel the difference. We think you’ll agree: Modifications are the secret to a successful workout, every time.
PLANK
The original expression of the posture: Place your hands shoulder-width apart, and slightly soften your shoulders and melt them down your back as you push out of your shoulder blades. Engage your abs, keep your hips level and aligned with your shoulders, lengthen your legs, lift your knees, and keep your heels over your toes.
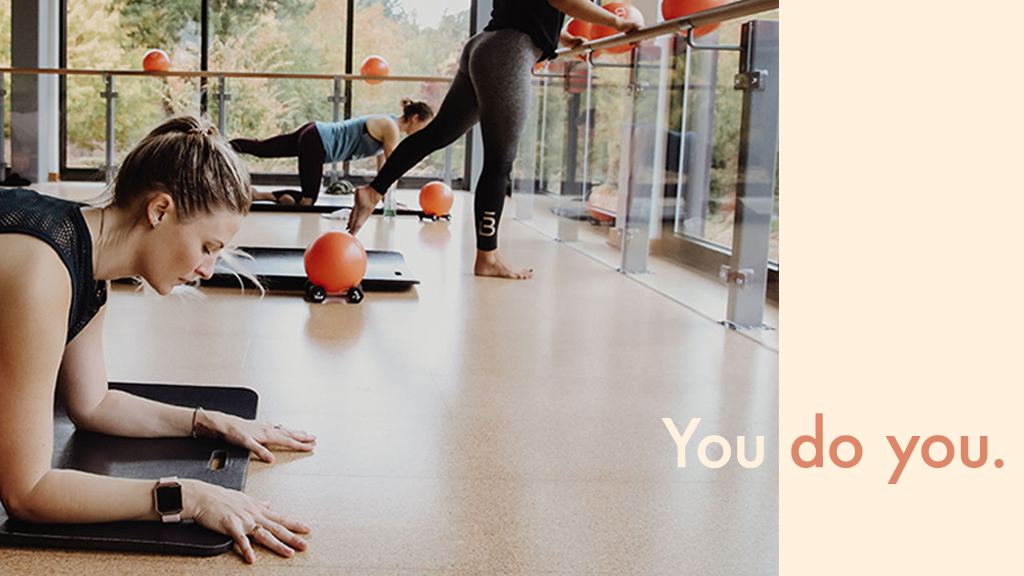
The modification options: If you’re experiencing wrist discomfort: Bring this posture down to your forearms, keeping your elbows right under your shoulders.
If you’re experiencing back discomfort: Take Plank upright by standing up and bringing your hands to a sturdy waist-high surface, still stacking your shoulders over your wrists.
HORSE POSE
The original expression of the posture: Place your feet wider than your hips, toes turned out to 10 and 2 on an imaginary clock. Keep your knees stacked over your ankles, pointed toward your middle toes. Sink your seat low, engage your abs, keep your spine in a neutral position, and stack your shoulders over your hips.
The modification options: For any knee, hip, or low-back discomfort, bring your feet closer together. You can also ditch Horse Pose altogether and get the same benefits by taking Narrow V instead: With your toes 3 to 4 inches apart, root into the balls of your feet, glue your heels together, and lift them off the ground. Fan your knees out, send your seat low, level your hips, engage your abs, keep a neutral spine, and stack your shoulders over your hips.
CAROUSEL HORSE
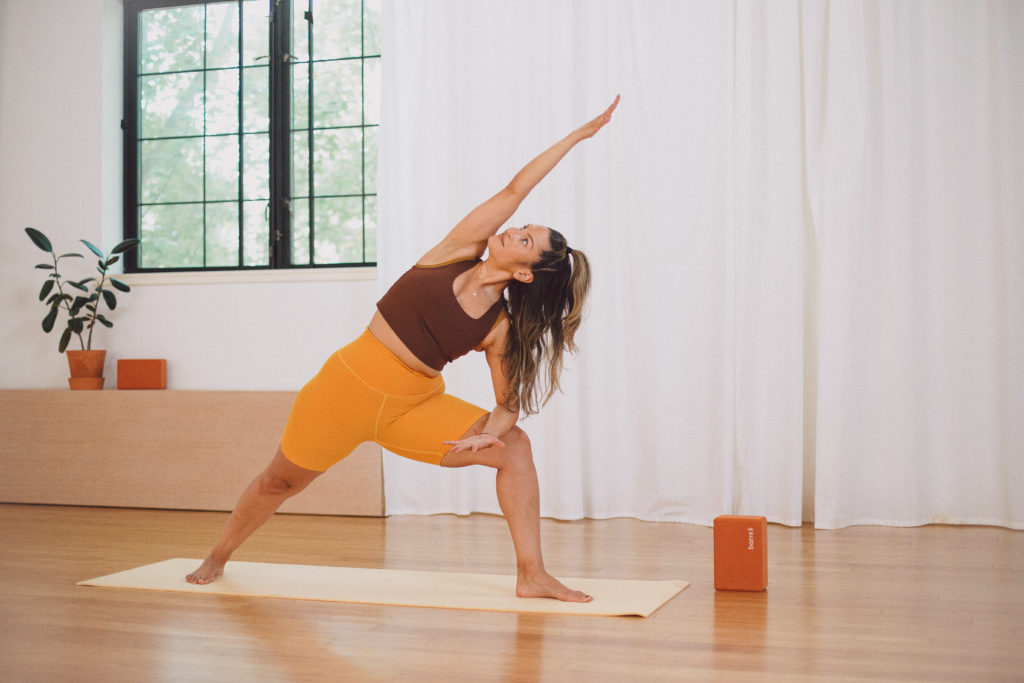
The original expression of the posture: Step one foot in front of you, one foot behind you, and bend both knees. Dig through all four corners of your front foot, lift your back heel and dig through the ball of that foot. Your front knee is stacked over your ankle, and your back knee is directly under your hip. Level your hips, engage your abs, keep your spine neutral, and stack your shoulders over your hips.
The modification options: For any knee or low-back discomfort, work higher in the posture by not dropping your back knee quite so low. Hinging forward at your hips will also help alleviate knee or low-back discomfort. If you are still feeling discomfort in your joints after these modifications, take this posture to more of an Incline Chair position by staying hinged forward, keeping your back heel lifted, and sliding it in so that it’s aligned with your front foot.
FLAT-BACK CORE
The original expression of the posture: Lie on the floor and bend your knees. Root heavy into your seat, keeping a neutral spine, with a tunnel of air under your low back. Engage your abs, open your collar bone, and melt your shoulders down your back.
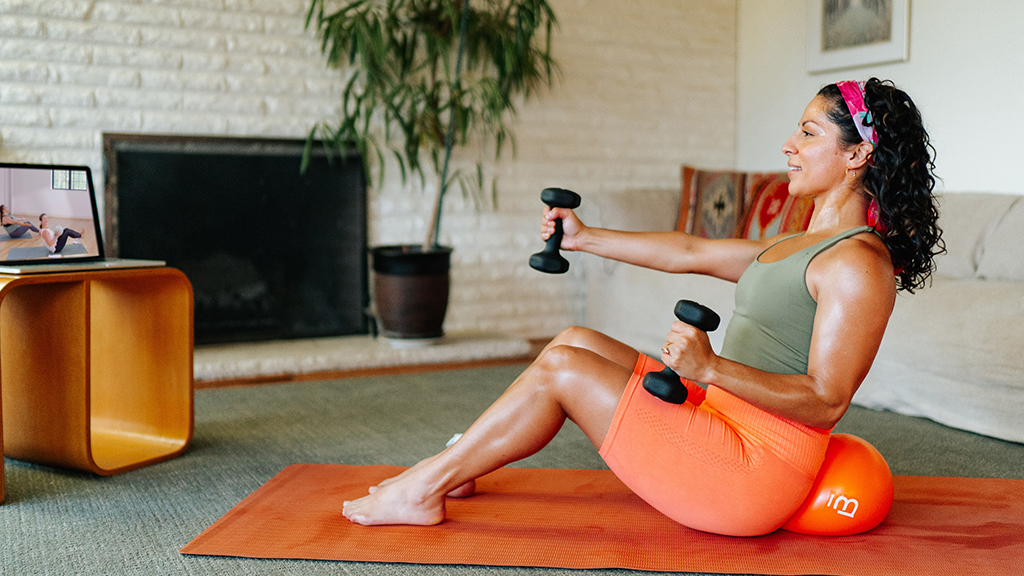
The modification options: If you are feeling any hip discomfort, you can take Flat-Back Core into Incline Core by placing the barre3 Core Ball under your pelvis. Maintain a level pelvis on the ball. If you are unable to lie down on your back, you can take this move to Upright Core: Come to a seated position on the floor, and either bend your knees, extend your legs, or sit cross-legged, depending on the variation of movement in the workout. Root into the bones in your pelvis (your sit bones), engage your abs, keep a neutral spine, lean back slightly, and melt your shoulders down your back.
Ready to experience the magic of modifications in your next workout? Find your local studio or sign up online and get your first 15 days free.




0 people have left a comment. Join the conversation!
View Comments