Move
HOW TO MODIFY FOR WRIST, SHOULDER, AND ELBOW PAIN
For a long time, there were two distinct schools of thought when it came to working out with an injury: Either you pushed past the pain, or you didn’t work out at all.
Not exactly stellar solutions. We much prefer our approach: Listen to your body, and when you’re in class, take the modifications that allow you to get an amazing workout minus the pain, while also giving your injury space to heal.
Below, we break down how to rock a barre3 workout with wrist, elbow, or shoulder pain.
PLANK
If you have wrist pain:
Option 1: Get into Plank position, but instead of resting your weight on your hands, use 4- or 5-pound weights as your base. Position them parallel to the line of your body, right where you would place your hands on the floor, and wrap your hands around them. Be sure to keep a straight line from your wrist to your forearm to ensure that your wrists aren’t bearing any of your weight.
Option 2: Support your weight with your forearms instead of your wrists. This position still gives you all the benefits of Plank but gets the pressure off your sore wrists.
Option 3: Take Plank at the barre. Make sure you have a straight line from your forearm to your wrists; you shouldn’t see a crease in your wrist at all. Also be sure that you’re pushing down on the barre instead of leaning into it. This helps keep your wrists in a neutral position, ensuring that your arms are doing the work, not your wrists.
If you have elbow or shoulder pain:
Option 1: If it feels comfortable, take Plank to the barre or a waist-high surface, as described in Option 3 above.
Option 2: If your elbow or shoulder pain is severe, ditch Plank altogether and do another posture that engages the core and lower body, like Power Leg or Sumo Squats.
PUSH-UPS
If you have wrist pain:
Option 1: Get into push-up position, but instead of placing your palms on the floor, wrap your hands around 4- to 5-pound handheld weights as your base. Be sure to keep your wrists in a neutral position, not bent at all.
Option 2: Do standing work instead. Place your feet hip distance apart, knees slightly bent, and do elbow tap-backs or chest presses. You’ll engage the same muscles you would in push-ups, but without any of the pressure on your wrists.
If you have elbow or shoulder pain:
Option 1: If you have shoulder pain in this position, sometimes working on the soft part of the knees can take the pressure off the shoulders.
Option 2: Do standing work instead. Place your feet hip distance apart, knees slightly bent, and do elbow tap-backs or chest presses with light weights. You’ll engage the same muscles you would in push-ups, but without any of the pressure on your wrists.
ALL FOURS
If you have wrist pain:
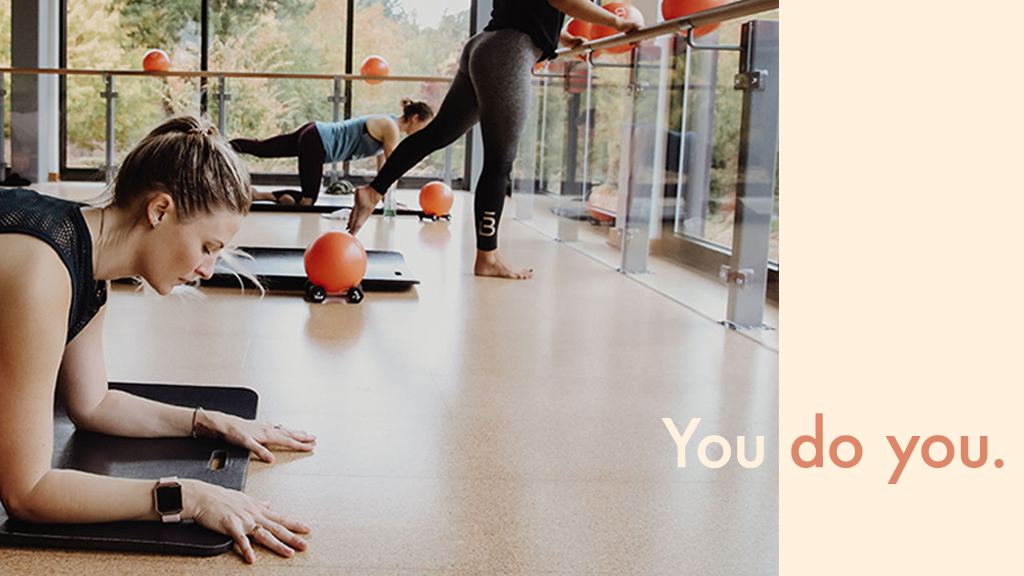
Option 1: Take this position on your forearms. This will take the pressure off your wrists but allow you to do the same movement for lower half of your body
Option 2: Take this to the barre or a waist-high surface, like a countertop or the back of a chair, and do the lower-body movements as directed.
If you have elbow or shoulder pain:
Option 1: Do standing seat work instead, following the lower-body movements as directed.
BARRE3 BURPEES
If you have wrist pain:
Option 1: These are fast and vigorous, so doing them on the floor is too intense for anyone with wrist pain. Instead, do the exact same sequence but at the barre or a waist-high surface.
Option 2: Skip the Burpees altogether and do sumo squats instead. For a turbo option, add chest presses or hammer curls with handheld weights to target the same muscles as Burpees.
MAINTAIN THE BALANCE
If you’re adapting a posture to accommodate pain or soreness on one side, always do the same adaptation on the other side. This will help you maintain balance in your body.
A NOTE ON USING WEIGHTS AND THE RESISTANCE BAND
When you’re using the handheld weights, make sure your wrist is in a neutral position, not bent in either direction. With the resistance band, be sure to wrap the band around your palms (not your wrists), and always keep your wrist in a neutral position.
Also, keep in mind that you can always ditch the handheld weights and resistance band and still get incredible benefits!
Ready to rock these modifications in your next barre3 workout? Find your local studio or start your online 15-day free trial today!


One person has left a comment. Join the conversation!
View Comments