Move
Posture Deep Dive: Bridge Lifts
Bridge Lifts are one of our favorite moves at barre3 because they seriously strengthen your lower body. While they might seem easy because they’re done lying on your back, they challenge your muscles and deliver an incredibly deep burn in your glutes, hamstrings, and core. Today we’re breaking down Bridge Lifts so you can get the most out of this posture.
The Benefits of Bridge Pose
Ever heard of the posterior chain? This connected group of muscles is made up of your lower back, hamstrings, glutes and calves. Bridge Lifts train all these muscles to fire in the proper order for improved strength and coordination. We love this move because it helps “wake up” glutes that have become weak from too much sitting; it also works your core to help you stand taller.
How to Set it Up
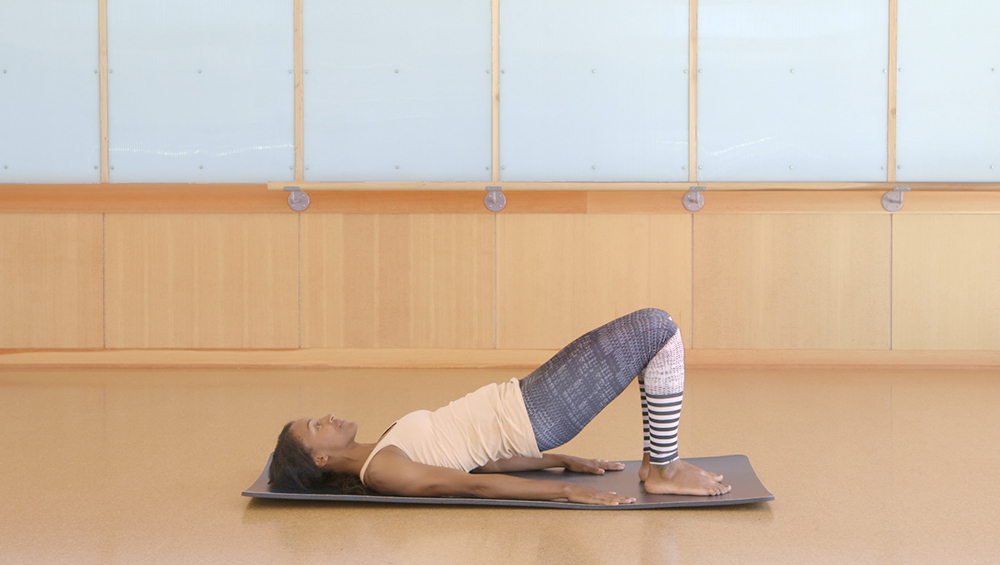
Lie on your back with your knees bent and your feet flat on the ground. Push through your feet to activate your glutes and drive your hips up toward the ceiling.
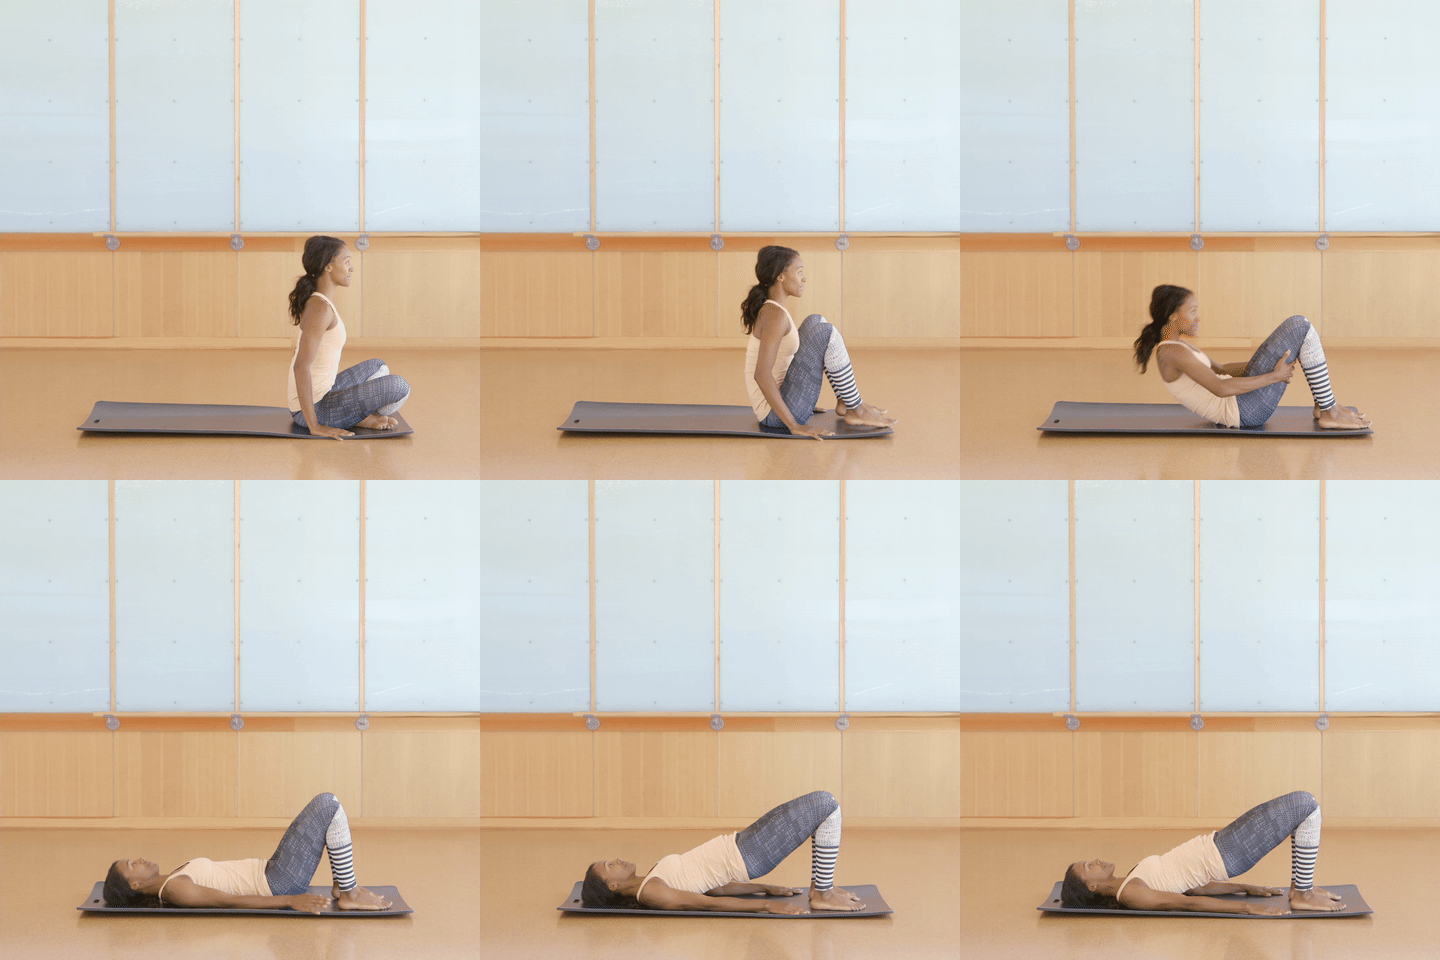
Common Do’s and Don’ts
Your muscles need to work as a team in order to execute Bridge Lifts correctly. Here are some do’s and don’ts that will help set you up for success.
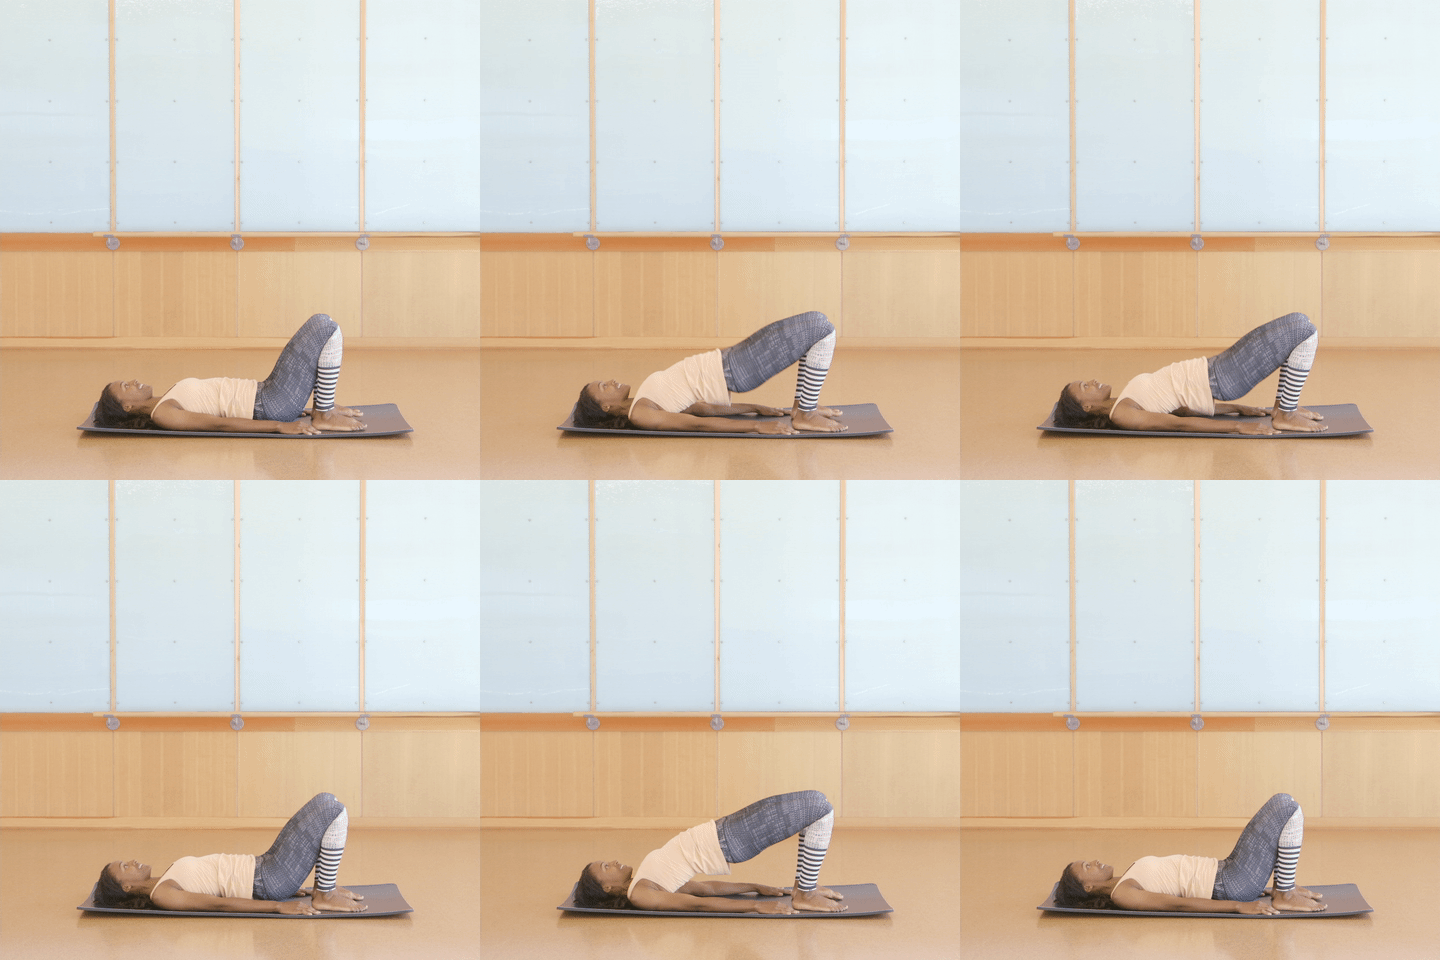
DON’T: Lift your chest and ribs to the sky. This causes your glute muscles to turn off and requires other muscles to take over.
DO: Imagine you had a brick on your chest that’s weighing your sternum down and keeping the tops of your shoulder blades touching the mat.
DON’T: Clench your glutes together. This encourages the muscles to develop in a clenched position.
DO: Do engage the glutes by firming the muscles and preparing them for movement. Then push your feet into the ground and use your glutes to drive your hips up.
*We don’t have an image for this because it’s not something you can see. It’s something that you’ll feel in your body.
DON’T: Place your feet too far away from you. The goal is to have the glutes drive the action of lifting and lowering your pelvis while the hamstrings assist. The further your feet are away from your glutes, the more your hamstrings will do the work.
DO: Stack your knees on top of your ankles, so when you lie on your back with your knees bent, you can reach forward and barely touch the back of your heel with your fingers.
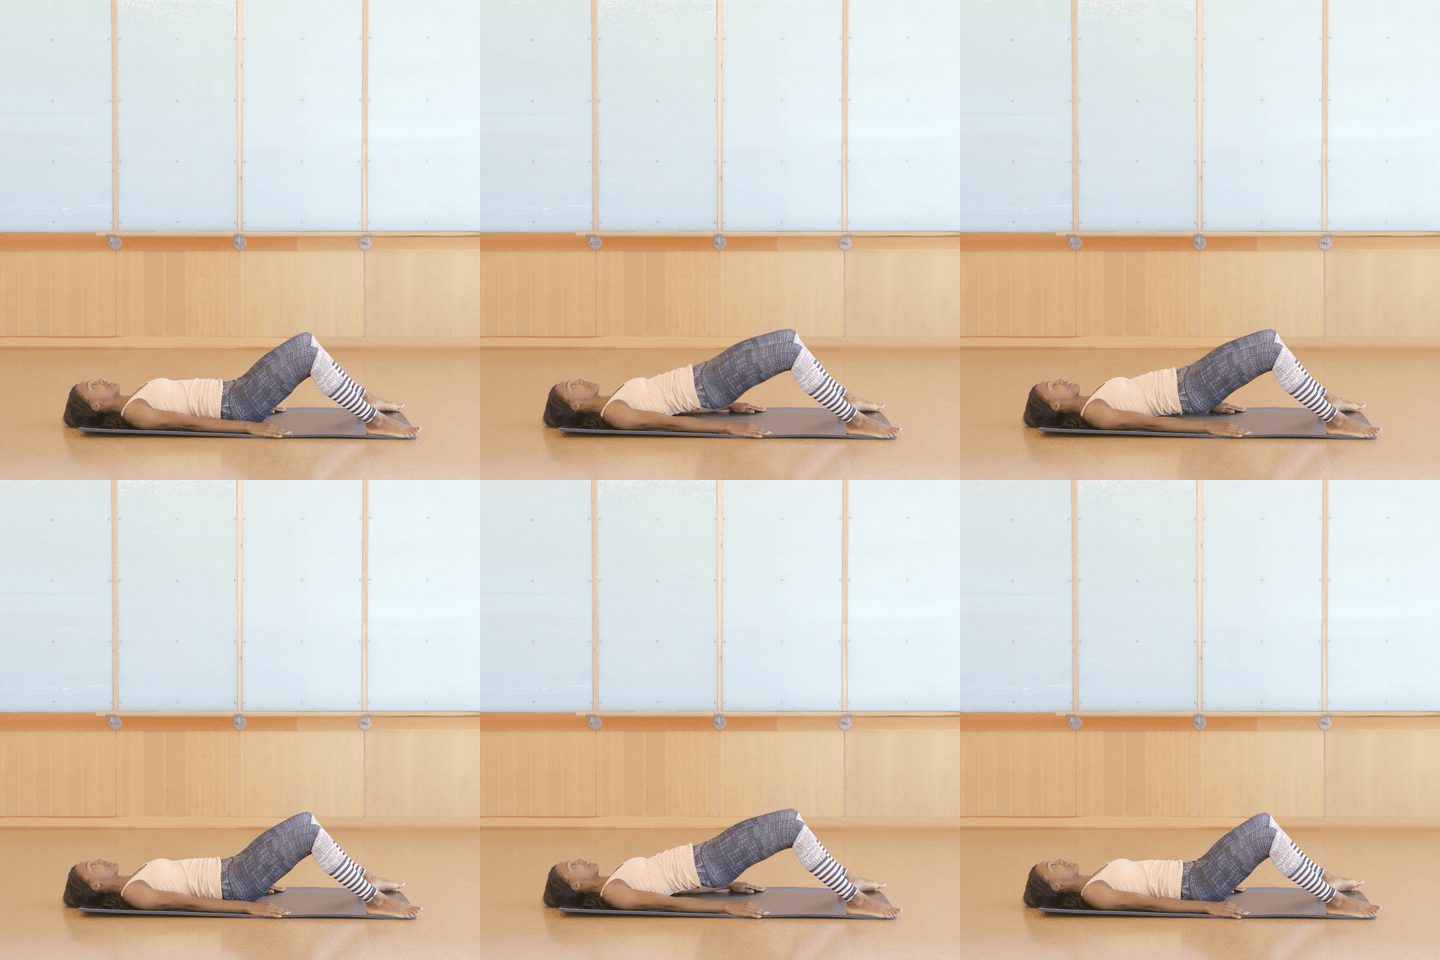
Here’s what a properly aligned Bridge Lift looks like:
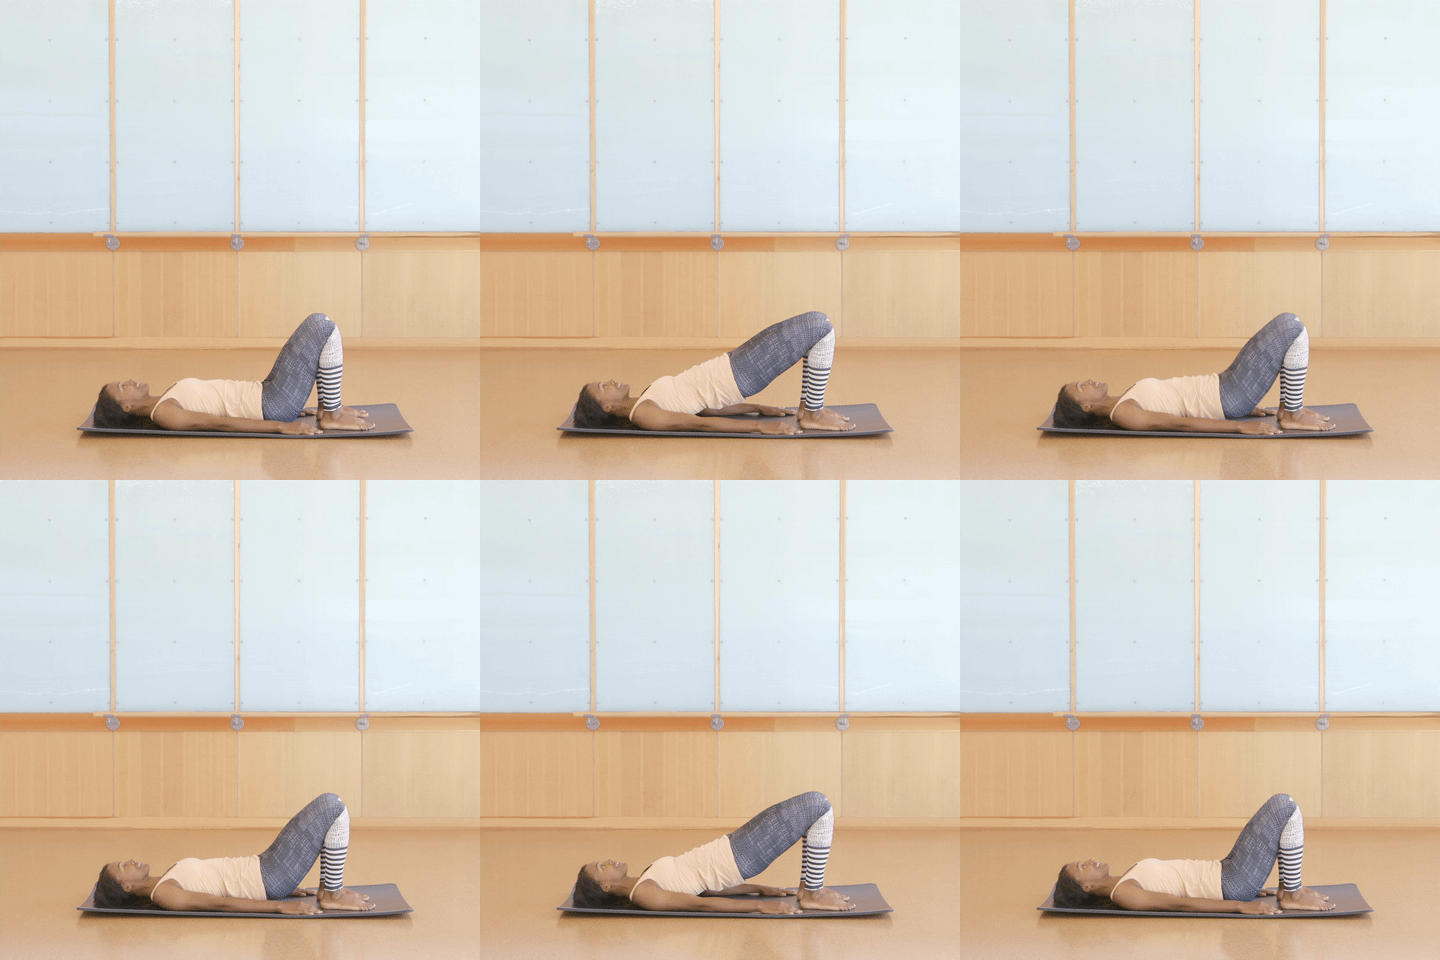
If you’re still not connecting with Bridge Lifts or if they don’t feel good in your body, here are three great modifications to try:
- If you’re feeling discomfort in your lower back, don’t raise your hips quite so high.
- Are your knees bothering you? Walk your feet into a turned-out sumo position.
- If knee discomfort persists, roll up small towels and place them behind your knees for added support.
Have a question about Bridge Lifts? Feel free to ask your instructor in studio, in the comments below, or online during your Weekly Online Workout. And if you love diving deeper into barre3 postures, subscribe to barre3 Online for unlimited access to step-by-step videos so you can get the most out of our signature moves.
Bridge Lifts are one of our favorite moves at barre3 because they seriously strengthen your lower body. While they might seem easy because they’re done lying on your back, they challenge your muscles and deliver an incredibly deep burn in your glutes, hamstrings, and core. Today we’re breaking down Bridge Lifts so you can get the most out of this posture.
The Benefits of Bridge Pose
Ever heard of the posterior chain? This connected group of muscles is made up of your lower back, hamstrings, glutes and calves. Bridge Lifts train all these muscles to fire in the proper order for improved strength and coordination. We love this move because it helps “wake up” glutes that have become weak from too much sitting; it also works your core to help you stand taller.
How to Set it Up
Lie on your back with your knees bent and your feet flat on the ground. Push through your feet to activate your glutes and drive your hips up toward the ceiling.

Common Do’s and Don’ts
Your muscles need to work as a team in order to execute Bridge Lifts correctly. Here are some do’s and don’ts that will help set you up for success.
DON’T: Lift your chest and ribs to the sky. This causes your glute muscles to turn off and requires other muscles to take over.
DO: Imagine you had a brick on your chest that’s weighing your sternum down and keeping the tops of your shoulder blades touching the mat.

DON’T: Clench your glutes together. This encourages the muscles to develop in a clenched position.
DO: Do engage the glutes by firming the muscles and preparing them for movement. Then push your feet into the ground and use your glutes to drive your hips up.
*We don’t have an image for this because it’s not something you can see. It’s something that you’ll feel in your body.
DON’T: Place your feet too far away from you. The goal is to have the glutes drive the action of lifting and lowering your pelvis while the hamstrings assist. The further your feet are away from your glutes, the more your hamstrings will do the work.
DO: Stack your knees on top of your ankles, so when you lie on your back with your knees bent, you can reach forward and barely touch the back of your heel with your fingers.

Here’s what a properly aligned Bridge Lift looks like:

If you’re still not connecting with Bridge Lifts or if they don’t feel good in your body, here are three great modifications to try:
- If you’re feeling discomfort in your lower back, don’t raise your hips quite so high.
- Are your knees bothering you? Walk your feet into a turned-out sumo position.
- If knee discomfort persists, roll up small towels and place them behind your knees for added support.
Have a question about Bridge Lifts? Feel free to ask your instructor in studio, in the comments below, or online during your Weekly Online Workout. And if you love diving deeper into barre3 postures, subscribe to barre3 Online for unlimited access to step-by-step videos so you can get the most out of our signature moves.






4 people have left a comment. Join the conversation!
View Comments